Quickstart
Point a client at one URL, sign in once, and call a tool — the whole path, in order.
Twelve steps. Tick them off as you go — the ticks are yours and they survive closing the tab.
0 of 12 done
Create an Omniio account
Sign up at omniio.dev/sign-in with an email address and password, or with Google if you would rather not have another password. The Free plan needs no card.
If email verification is on for your account, click the link before continuing — the endpoint will not issue a token to an unverified account.
Land on Overview
After signing in you arrive at Overview. It is empty, which is correct: nothing is connected yet.
Overview is where you will come back to. It shows what is connected, how many calls you have made this period against your plan's allowance, and the last handful of calls.
Open the library
Go to Library. This is the catalogue — every server Omniio has verified, grouped by what it is for, with the tool count each one advertises.
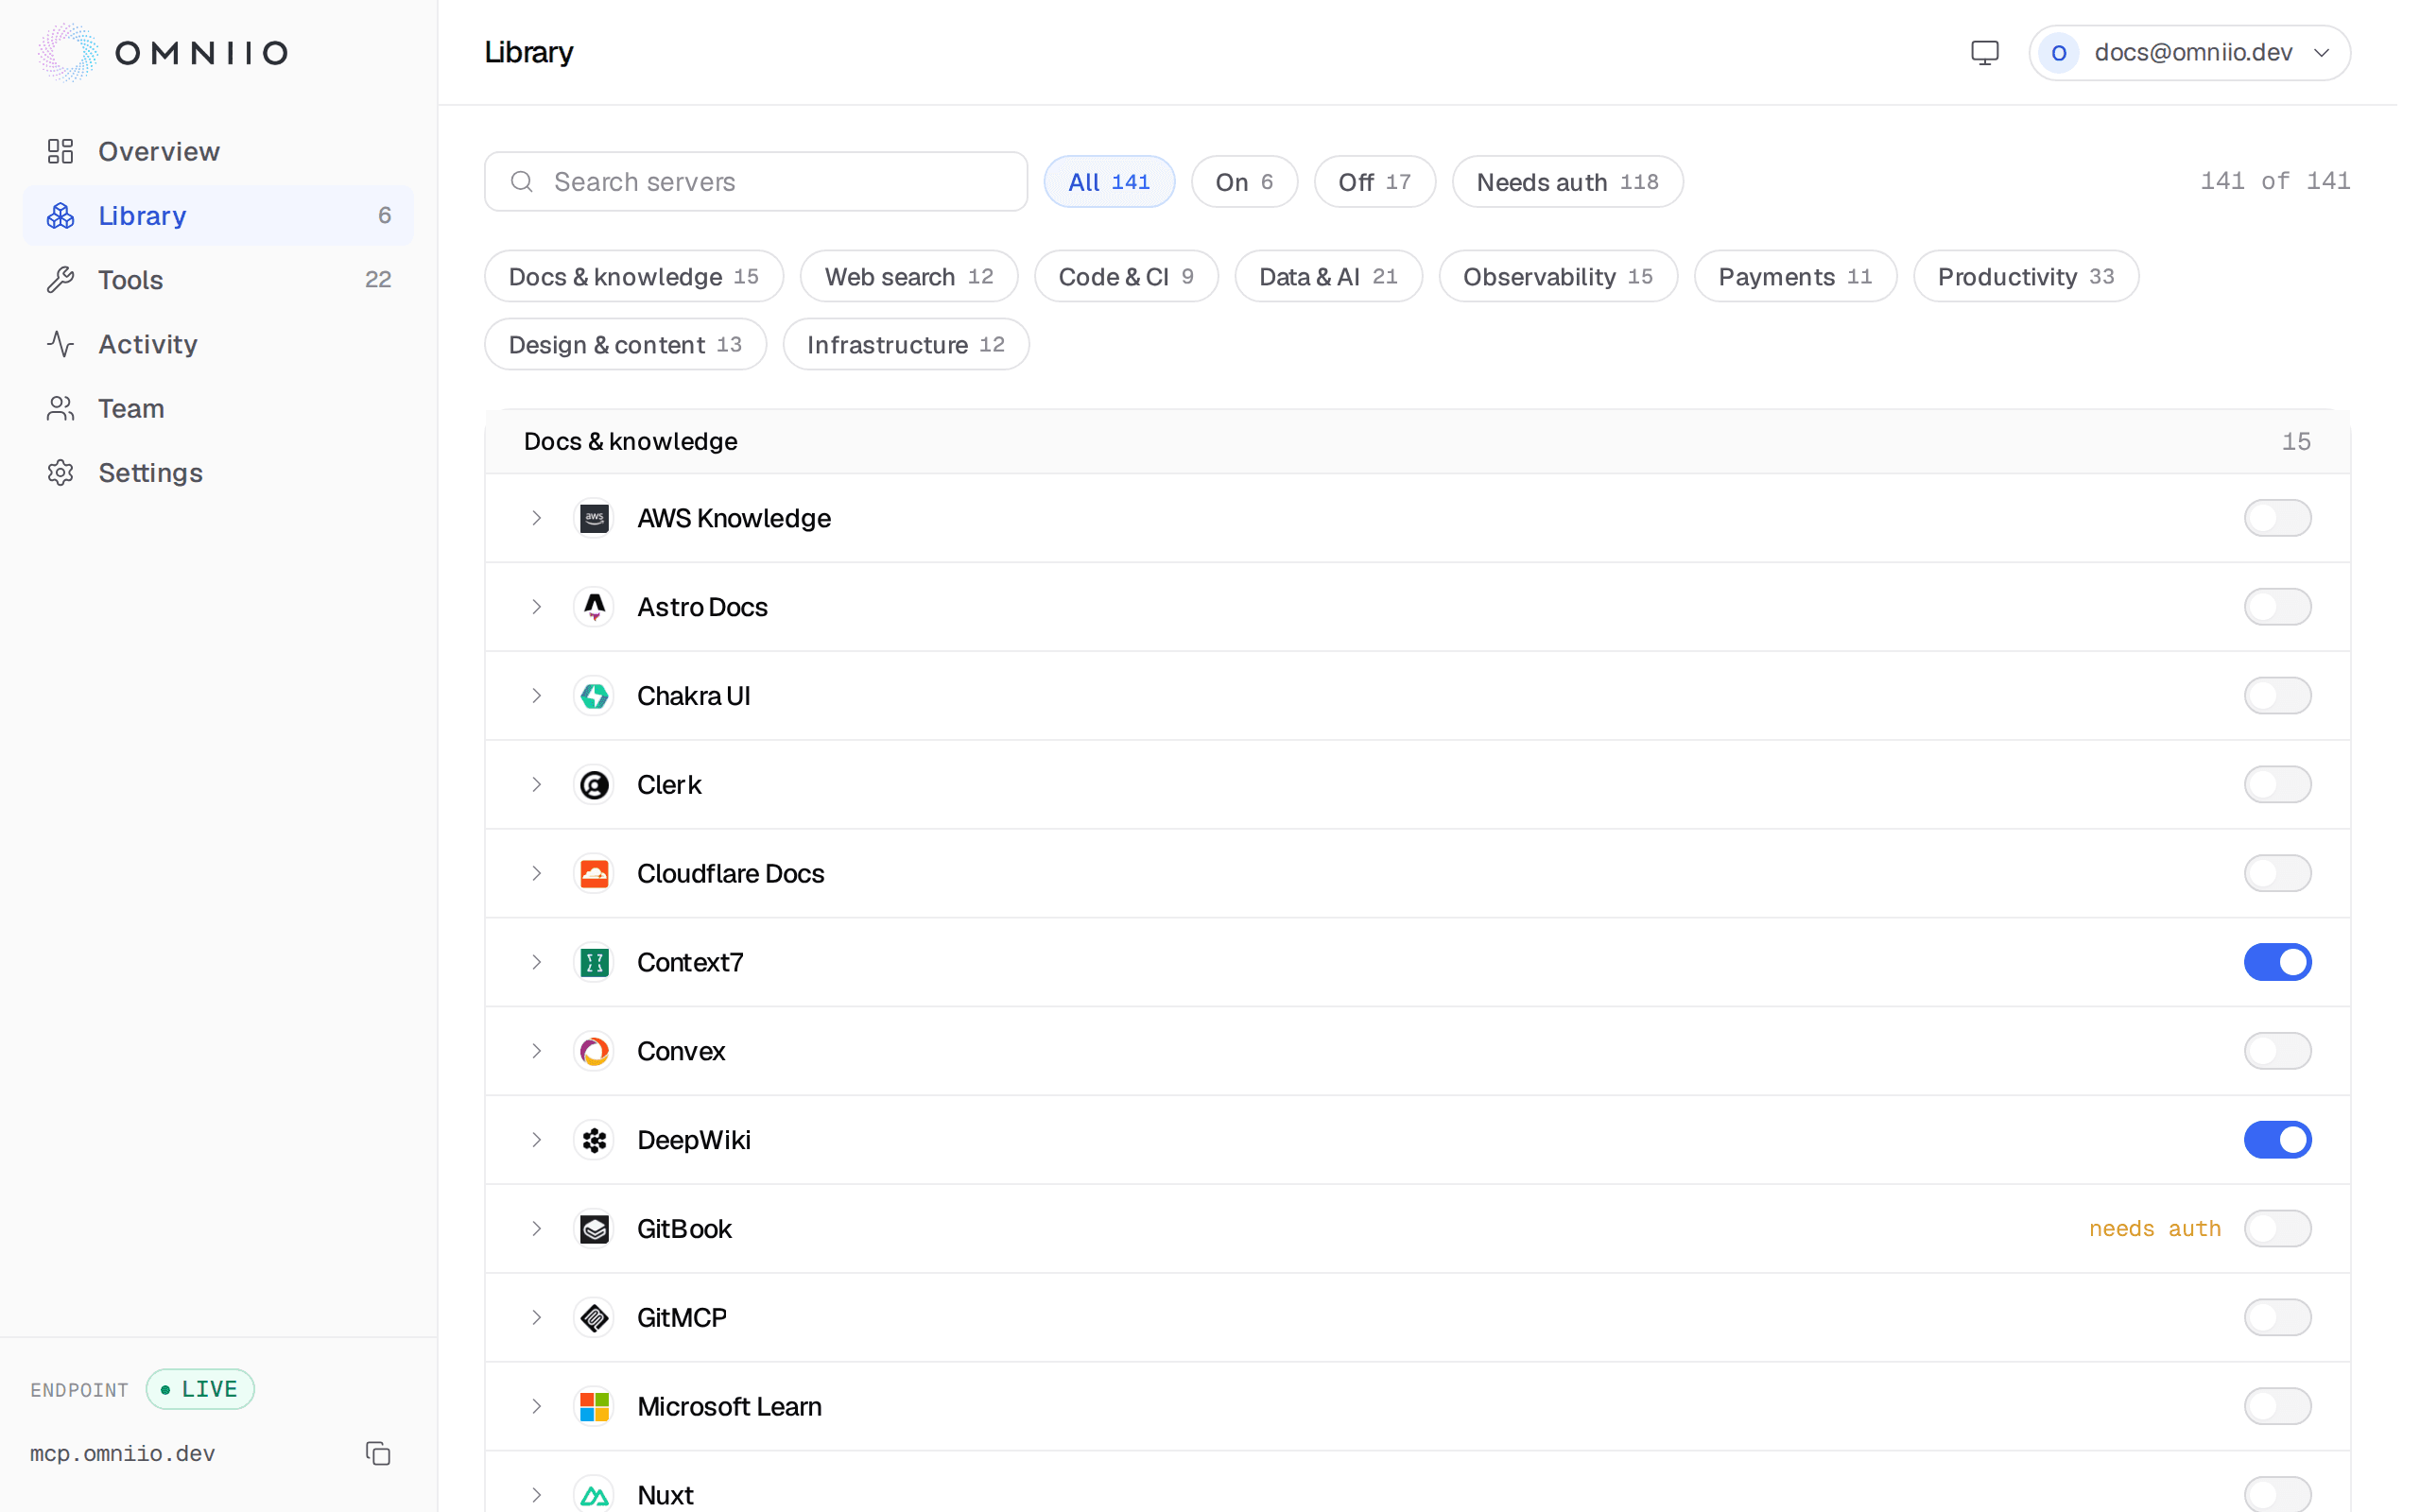
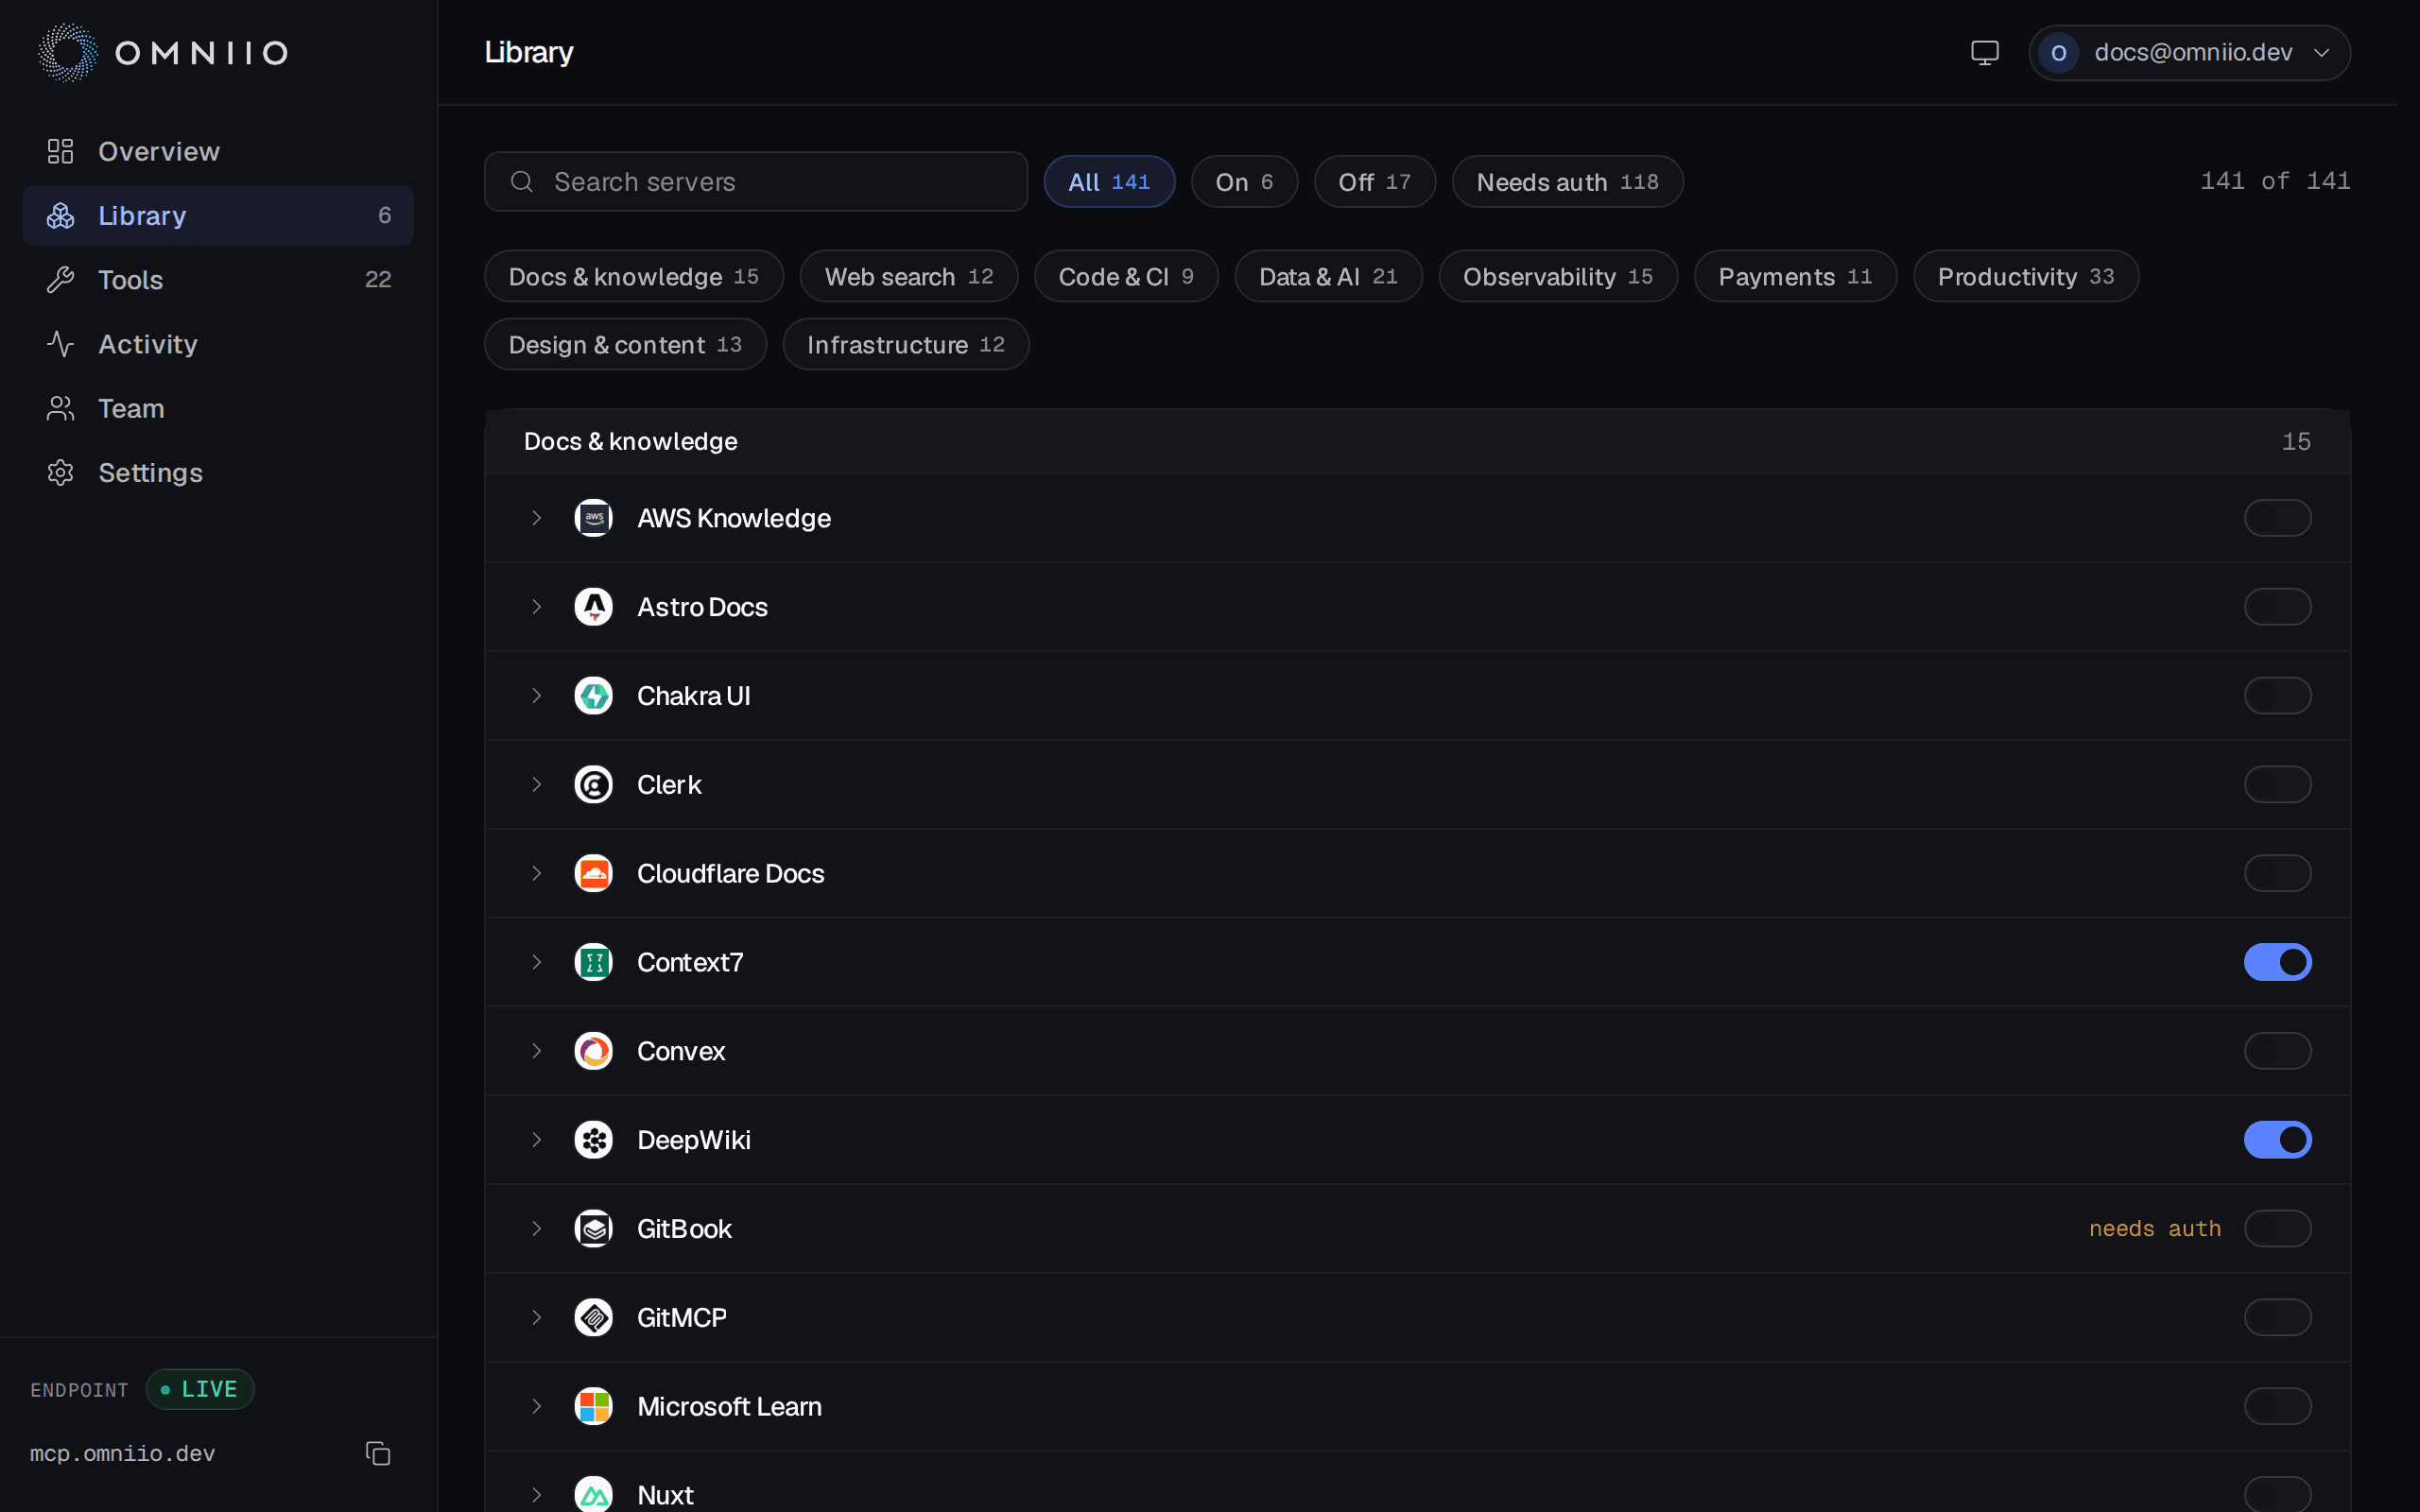
Every server in the catalogue, with one switch each. You can also add your own: Add a server takes an HTTP MCP URL and puts it in the same list, private to your account. Connecting servers covers both.
Turn on your first server
Find a server and flick its switch. Pick something you can verify quickly — a search or documentation server rather than one that writes to your production systems.
Enabling a server: the switch, then the tools it advertises. The switch takes effect on your next
tools/list, which for most clients means the next message you send. There is nothing to restart.Authorize it, if it asks
A server that needs an account shows Authorize instead of a switch. Clicking it starts that server's own OAuth flow in a new tab; you sign in to them, not to us, and Omniio stores the token it gets back encrypted.
Servers that need no account — public documentation, search, reference data — have nothing to authorize and skip this step. Authorization explains what is stored and how to revoke it.
Copy the endpoint URL
Every account uses the same endpoint:
https://mcp.omniio.devThere is no per-account URL to copy, and nothing secret about this one. Who you are is established by the OAuth flow your client runs against it, not by the address.
Add Omniio to your client
In Claude Code, one command:
claude mcp add --transport http omniio https://mcp.omniio.devEvery other client wants a few lines of JSON in a config file. The snippets are on Client configuration — copy the one for your client rather than adapting another, because the key names genuinely differ between them.
Authorize the client
The first time your client reaches the endpoint it will open a browser window asking you to sign in to Omniio. That is the OAuth flow, and it is what ties this client to your account.
Claude Code prints a URL; desktop clients open a window. Finish signing in and the redirect connects the client.
Check the connection
Ask your agent what tools it has. It should report three:
search_tools,describe_toolandrun_tool.If it reports none, the client has not finished authorizing — restart it and watch for the browser window. If it reports the tools but every call fails, check Errors.
Search for a tool
Ask for something in plain language: "search your tools for anything that can read a GitHub issue".
Your agent calls
search_tools, and gets back matching tools from the servers you enabled, each line naming the tool, the server it belongs to and what it does. Nothing has been called upstream yet — this is a search over the catalogue.Run a tool
Ask for the thing itself: "read issue 214 in that repository".
The agent calls
describe_toolto get the input schema, fills it in, and callsrun_tool. Omniio checks your policy, checks your quota, calls the upstream server, scans the result, and hands it back.Read it back
Open Activity. The call is there: which client made it, which tool it ran, how long it took, the arguments it sent and the result it got.
Every call keeps its arguments and its result, for as long as your plan retains them. That is the whole loop. From here: Policy and scopes to control what can run without asking, Notifications to hear about held calls, and REST API to read any of this from your own code.